Looking for your own DIY shaving cream recipes? You’ll love being able to create it with ease!
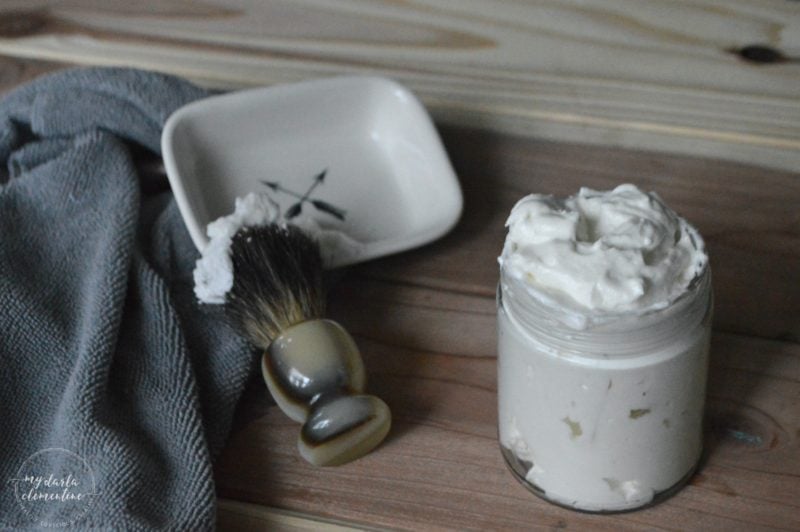
It’s DIY time again! And with Valentine’s Day just a few weeks away, I thought this would be the perfect time to discuss the ultimate man gift: DIY Shaving Cream! This homemade gift is so ultimate, in fact, that I will even be making some to give to my own guy!
Are you flying solo this year, or not really into the Valentine’s craze? No prob! Whip some of this luxurious whipped shaving cream up for yourself or a bestie. We all have something on our bodies we can stand to shave, so why not do it indulgently?
Now, believe it or not, this is the first attempt I ever had at making shaving cream. I know, shocker of the day, right?! Since we make our own toothpaste, hair gel, pomade, hand soap, lip balm, etc., I’m surprised that I haven’t whipped some of this up before. I decided to do a bit of research and find a really great recipe. I specifically wanted one that made a whipped-style cream, not a liquid or gel that would lather later. I also wanted a recipe that did not use water, as water can breed bacteria and significantly shorten the shelf life of a DIY product. And, naturally, I wanted to use natural and non-toxic ingredients to accomplish all of this!
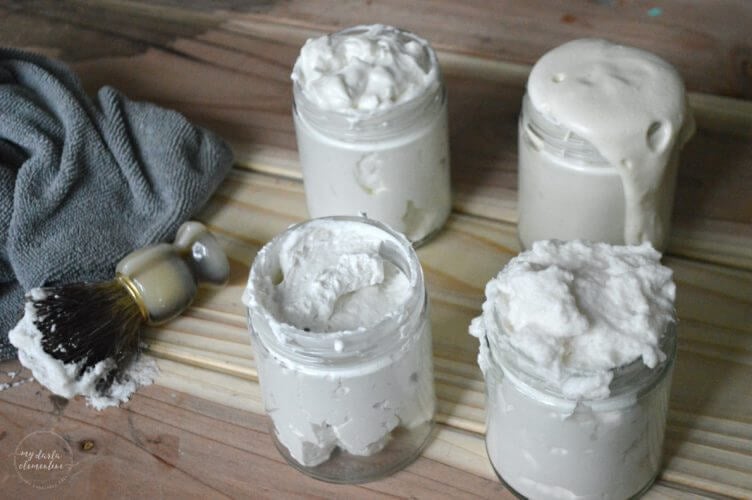
With that criteria in mind, I picked out 4 variations of recipes that I kept stumbling upon and decided to try them.
Time to Compare Recipes!
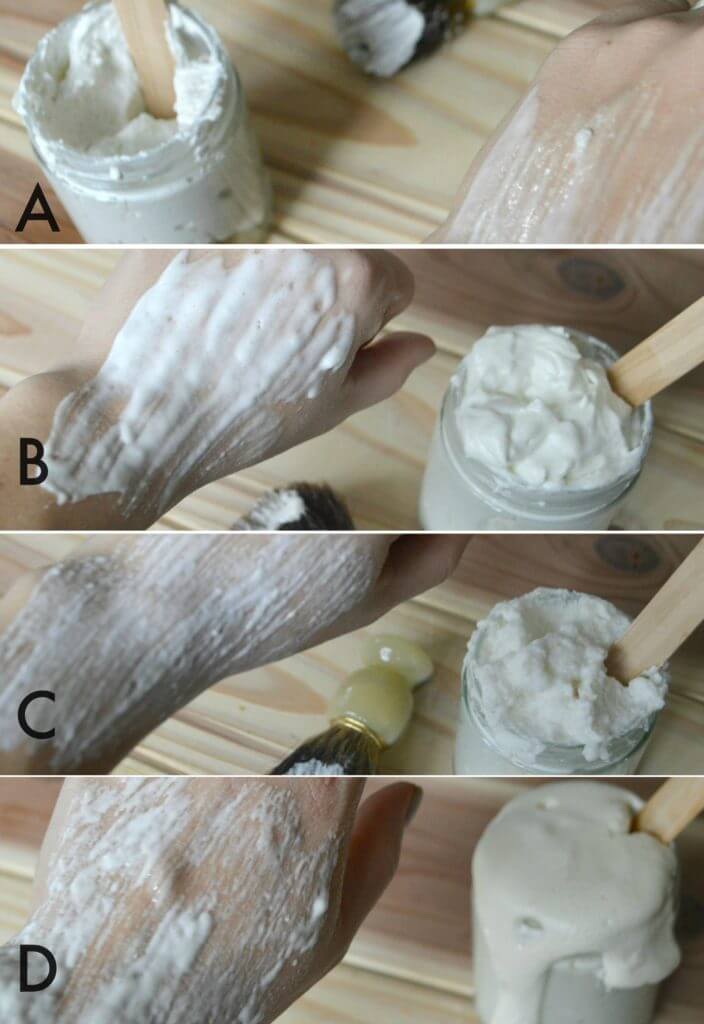
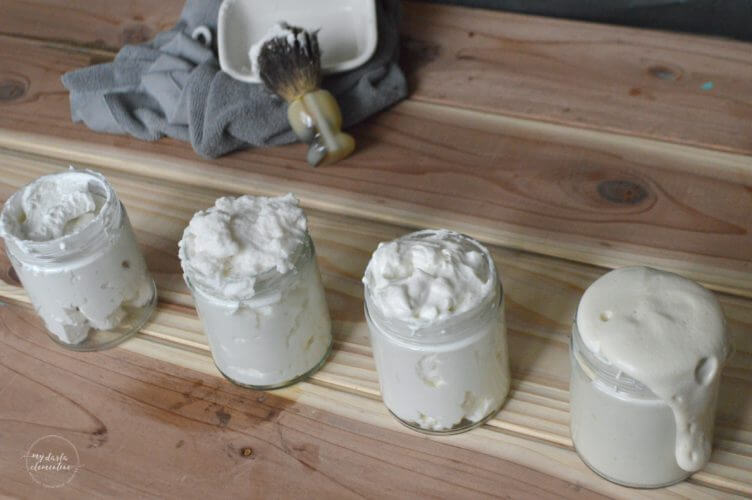
Before we dig too deeply into this, I should actually clarify that these four recipes are really two recipes with two variations each. The first pair of recipes are based on equal parts of coconut oil and shea butter, while the second pair takes an oil and castile soap route. All four of the recipes work pretty well, though I will argue that recipes A & B would make a much prettier gift. I did decide on a favorite recipe of the four, however, as well as some pros and cons for each that you might like to hear.
My Favorite DIY Shaving Cream + a Comparison of 4 Recipes
NOTE: Mixing Directions for all 4 recipes are the same.
In most cases, you should be able to mix all ingredients together directly in a stand up mixer until well combined and resembling whipped cream. In the event that your home is extremely cold and your ingredients have become rock hard, or if you have to substitute shea for a harder beauty butter, you may want to first melt down the butter and coconut oil together, and refrigerate them until they start to cool and thicken (about an hour or two). Then add the other ingredients and whip as normal.
Recipe A – Coconut Oil and Shea Butter
- 1/4 cup Coconut Oil (find organic coconut oil here)
- 1/4 cup Shea Butter (find unrefined Shea Butter here)
- Optional: Essential Oils
LOOKING FOR MORE FREE RECIPES? Subscribe to my newsletter and follow along on Facebook, Pinterest and Instagram for all of the latest updates.
Coconut Oil and Shea Butter
Ingredients
- 1/4 cup Coconut Oil
- 1/4 cup Shea Butter
- Optional: Essential Oils
Instructions
- This mix is so quick and easy, calling for equal parts of just two ingredients!
- It can be stored at a cool room temperature in a tightly sealed container.
Recipe B – Coconut Oil and Shea Butter with Extras
- 1/4 cup Coconut Oil (find organic coconut oil here)
- 1/4 cup Shea Butter (find unrefined Shea Butter here)
- 1/8 cup Extra Virgin Olive Oil (find high quality, organic oil here)
- 2 tsp Baking Soda
- Optional: Essential Oils
LOOKING FOR MORE FREE RECIPES? Subscribe to my newsletter and follow along on Facebook, Pinterest and Instagram for all of the latest updates.
Coconut Oil and Shea Butter with Extras
Ingredients
- 1/4 cup Coconut Oil
- 1/4 cup Shea Butter
- 1/8 cup Extra Virgin Olive Oil
- 2 tsp Baking Soda
- Optional: Essential Oils
Instructions
- The difference between this recipe and the first is the addition of olive oil and baking soda. Those two extras make the whip lighter and fluffier, and also produced quite a bit more product than the first recipe.
- This blend can also be stored at room temperature in a tightly sealed container.
Recipe C – Oil and Castile Soap Base
- 1/4 cup Coconut Oil (find organic coconut oil here)
- 1/4 cup liquid Castile Soap (find it here)
- 2 Tbsp Shea Butter (find unrefined Shea Butter here)
- 2 tsp Baking Soda
- Optional: Essential Oils (not necessary if using scented castile soap)
LOOKING FOR MORE FREE RECIPES? Subscribe to my newsletter and follow along on Facebook, Pinterest and Instagram for all of the latest updates.
Oil and Castile Soap Base
Ingredients
- 1/4 cup Coconut Oil
- 1/4 cup liquid Castile Soap
- 2 Tbsp Shea Butter
- 2 tsp Baking Soda
- Optional: Essential Oils (not necessary if using scented castile soap)
Instructions
- This blend needs to be refrigerated, which is definitely a con for me.
Recipe D – Oil and Castile Soap Base with Honey
- 1/4 cup Oil (Coconut, Sweet Almond, Jojoba, or Olive)
- 1/4 cup liquid Castile Soap (find it here)
- 2 Tbsp Shea Butter (find unrefined Shea Butter here)
- 2 tsp Baking Soda
- Optional: Essential Oils (not necessary if using scented castile soap)
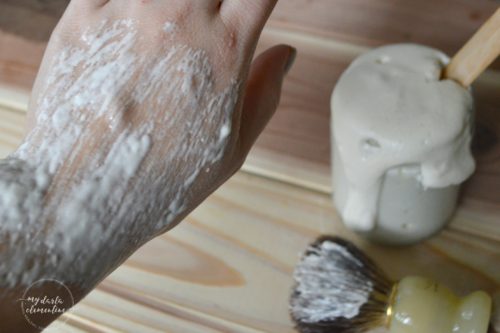
This recipe made a ton of product. (Like two jars full. If you make this, plan to store it in a mason jar.) It started out looking really well-whipped, but by the time I took pictures a few minutes later, it had “melted” quite a bit and looked more like an overflowing root bear float. The honey in the recipe gives it a sweet smell that I like, and the honey’s nourishing qualities make the skin feel really soft. Again, though, this castile-based recipe left a slight soapy residue on my skin, and was slightly irritating for my legs. I would like to try it again with a non-scented castile soap and see if that helps. This mix needs to be stored in the fridge in a tightly sealed container.
LOOKING FOR MORE FREE RECIPES? Subscribe to my newsletter and follow along on Facebook, Pinterest and Instagram for all of the latest updates.
Oil and Castile Soap Base with Honey
Ingredients
- 1/4 cup Oil (Coconut, Sweet Almond, Jojoba, or Olive)
- 1/4 cup liquid Castile Soap
- 2 Tbsp Shea Butter
- 2 tsp Baking Soda
- Optional: Essential Oils (not necessary if using scented castile soap)
Instructions
- This recipe made a ton of product. (Like two jars full. If you make this, plan to store it in a mason jar.)
- This mix needs to be stored in the fridge in a tightly sealed container.
The Final Verdict
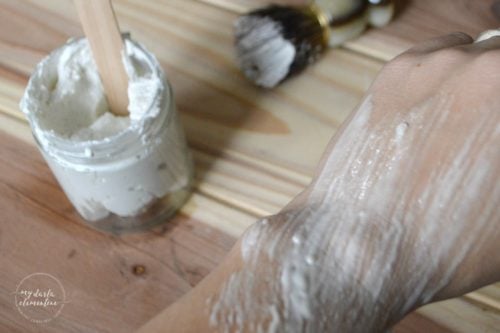
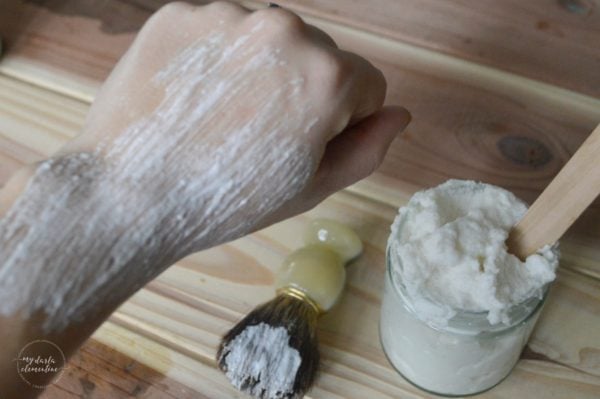
Like I mentioned earlier, all of the recipes worked pretty well – even better than I’d expected! I personally enjoy the coconut oil and shea based recipes (Recipes A & B) much more than the soap based ones (C & D). I feel that they hold up better over time, can be more conveniently stored at room temperature, and are more moisturizing and less irritating to my sensitive skin. Personally, I would strongly recommend either A or B, but think that my absolute favorite was the simple, moisturizing, nourishing Recipe A! The easy-peasy mix of coconut oil and shea butter is just so silky and luxurious. I also love that it didn’t leave any extra oiliness or grittiness (from the baking soda) behind.
Happy creating, gifting, and shaving, friends!


I will most definitely be trying one of these! I have sensitive skin and tend to get razor burn easily! Do you recommend one over the others for me?
Hi Courtney! I would definitely recommend recipe “A” for sensitive skin. (That is the recipe with just coconut oil and shea butter in it, which will be very gentle and nourishing.) It is pretty thick, so it will probably be easiest to apply it with your fingers or a popscicle stick. Let us know how it goes!